Curious minds, start here!
Basics of RockyNordic MailU
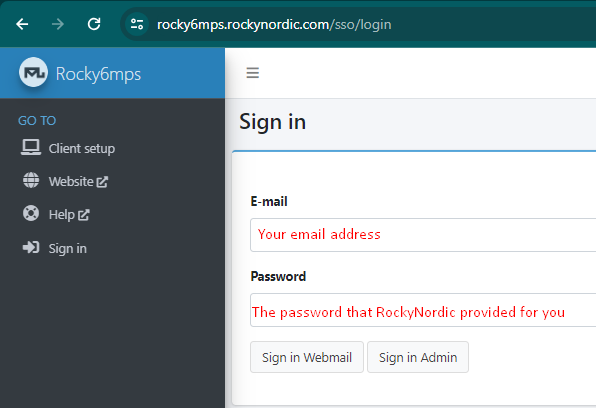
Step 2: Sign in Webmail
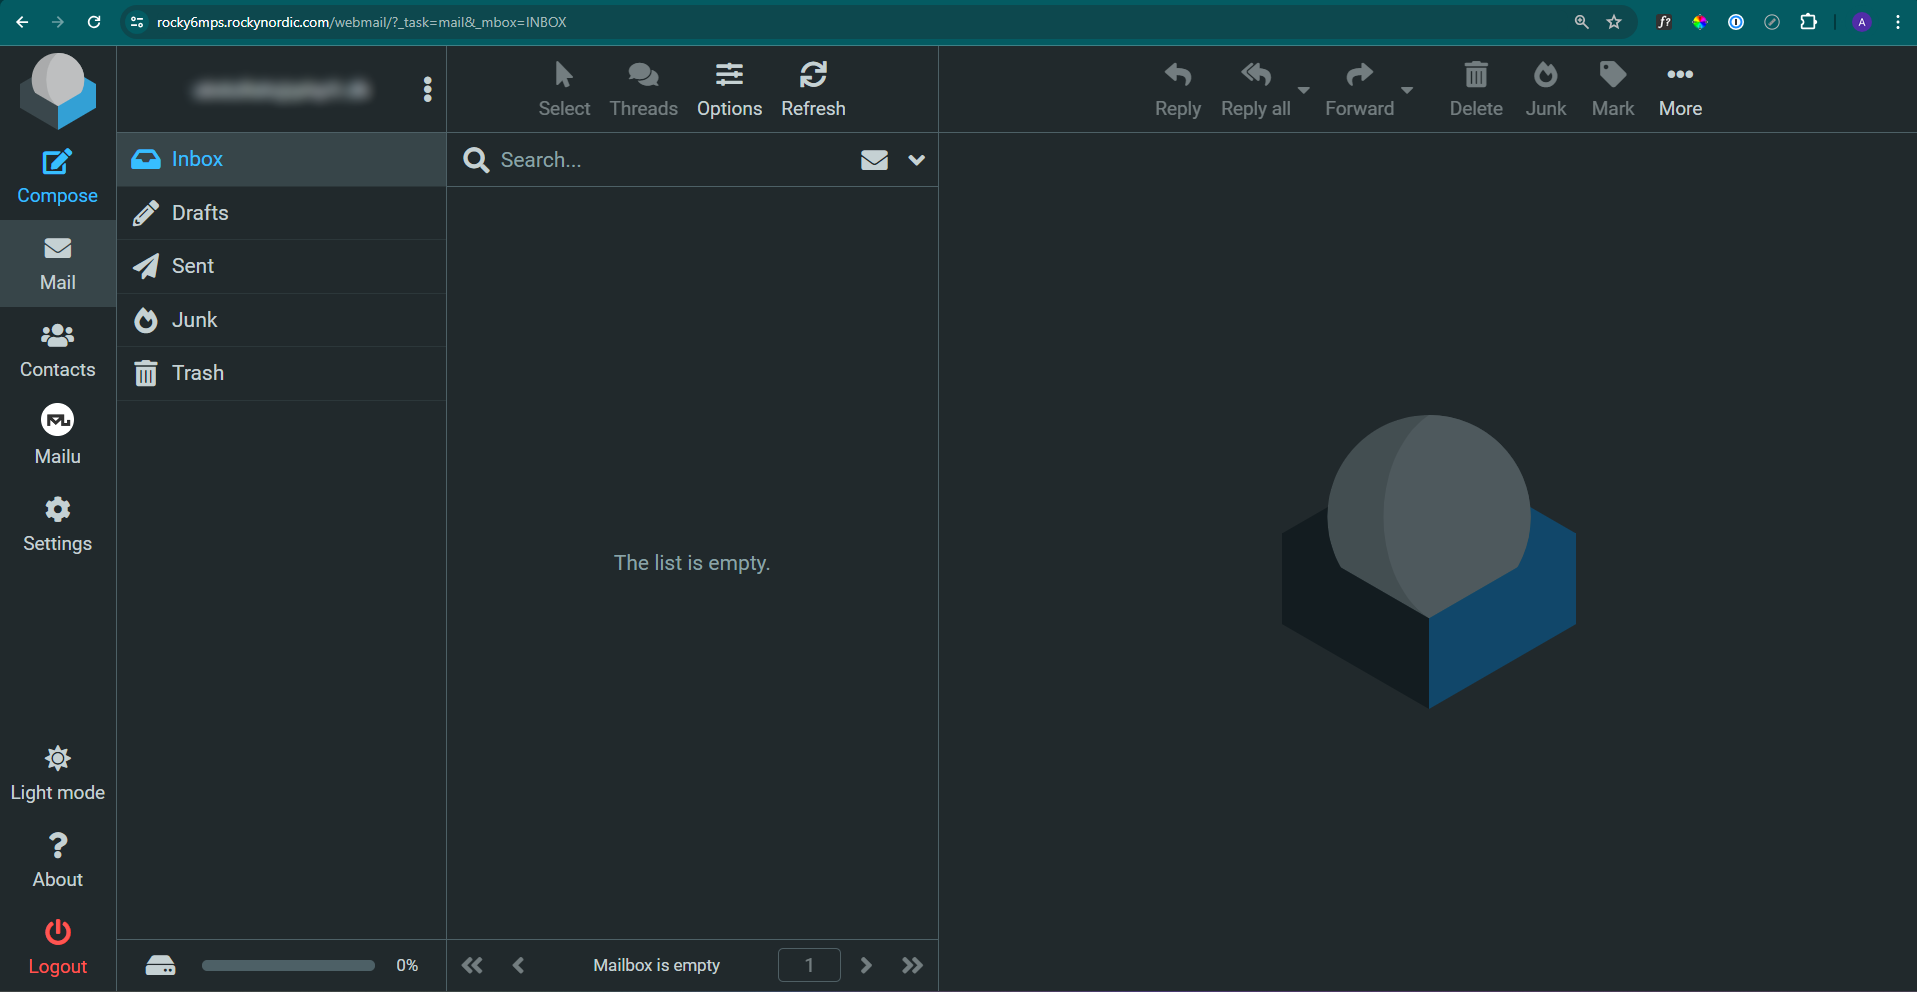
- Press Sign in Webmail with your credentials to go to the MailU webmail
- This is the default mail dashboard
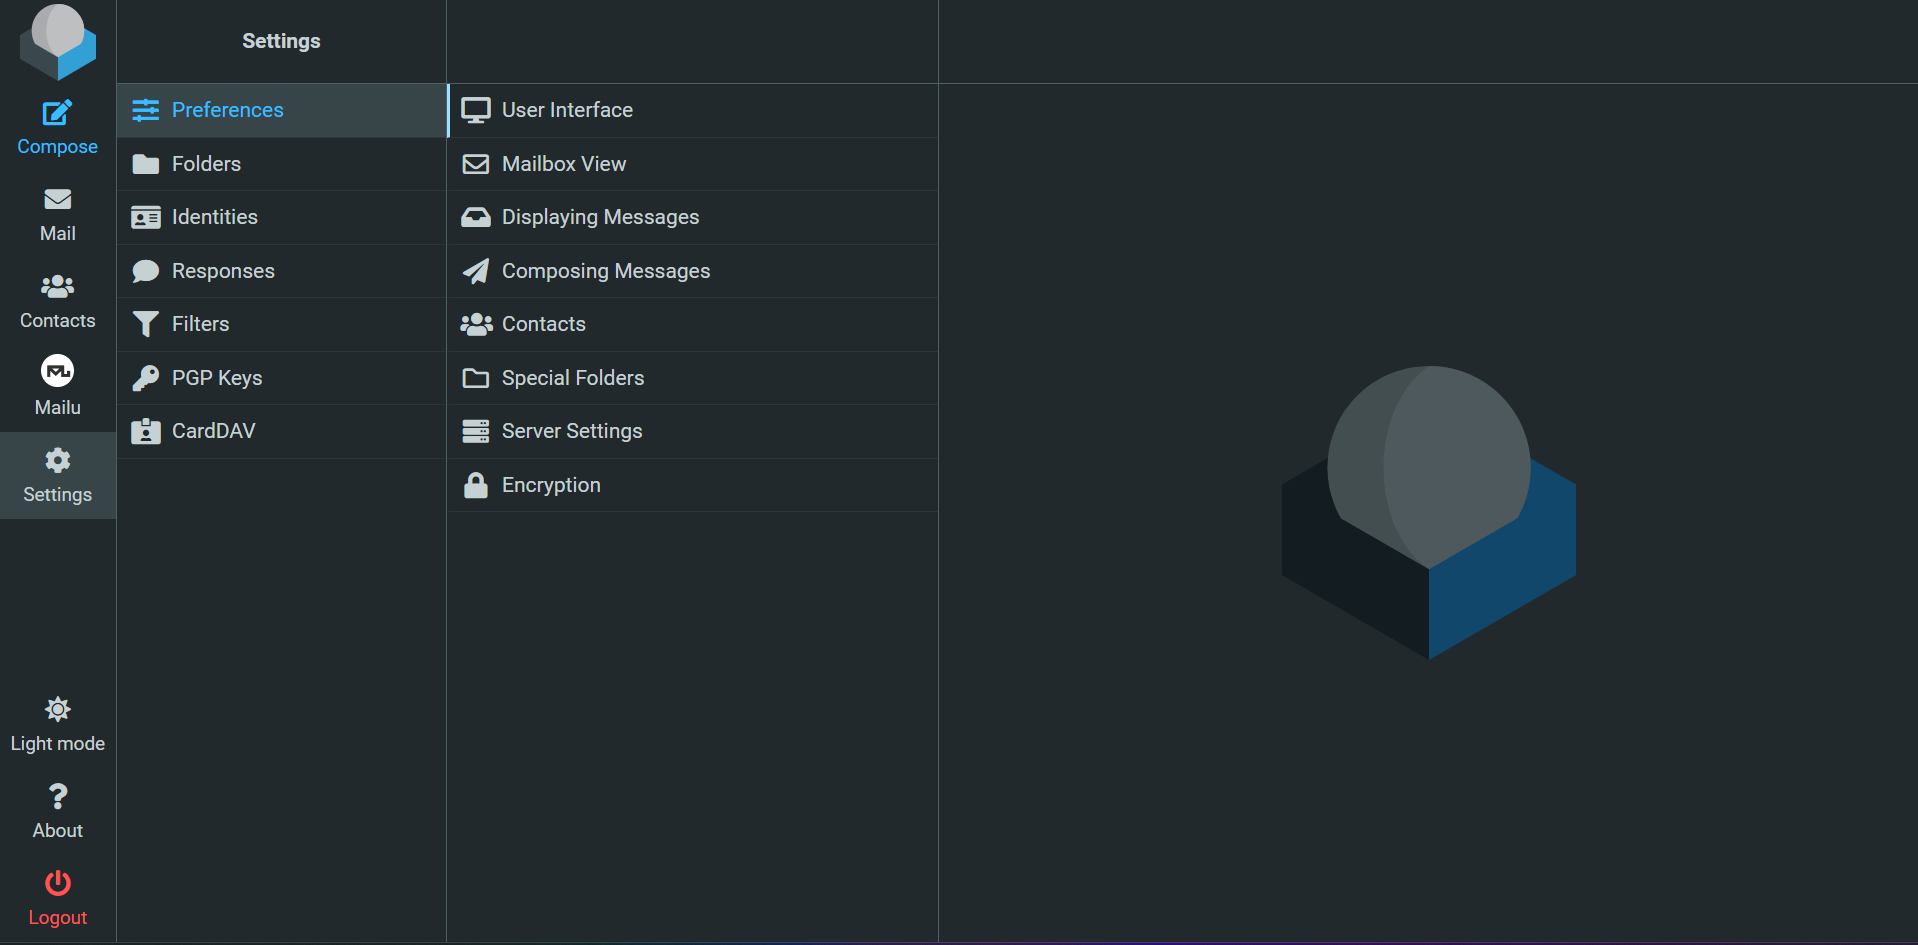
- Under the settings tab, you will find the necessary settings to organize your mail folders
Step 3: Sign in Admin
- Press Sign in Admin with your credentials to go to the MailU control panel. You have to login with the email address that has the Administration permission.
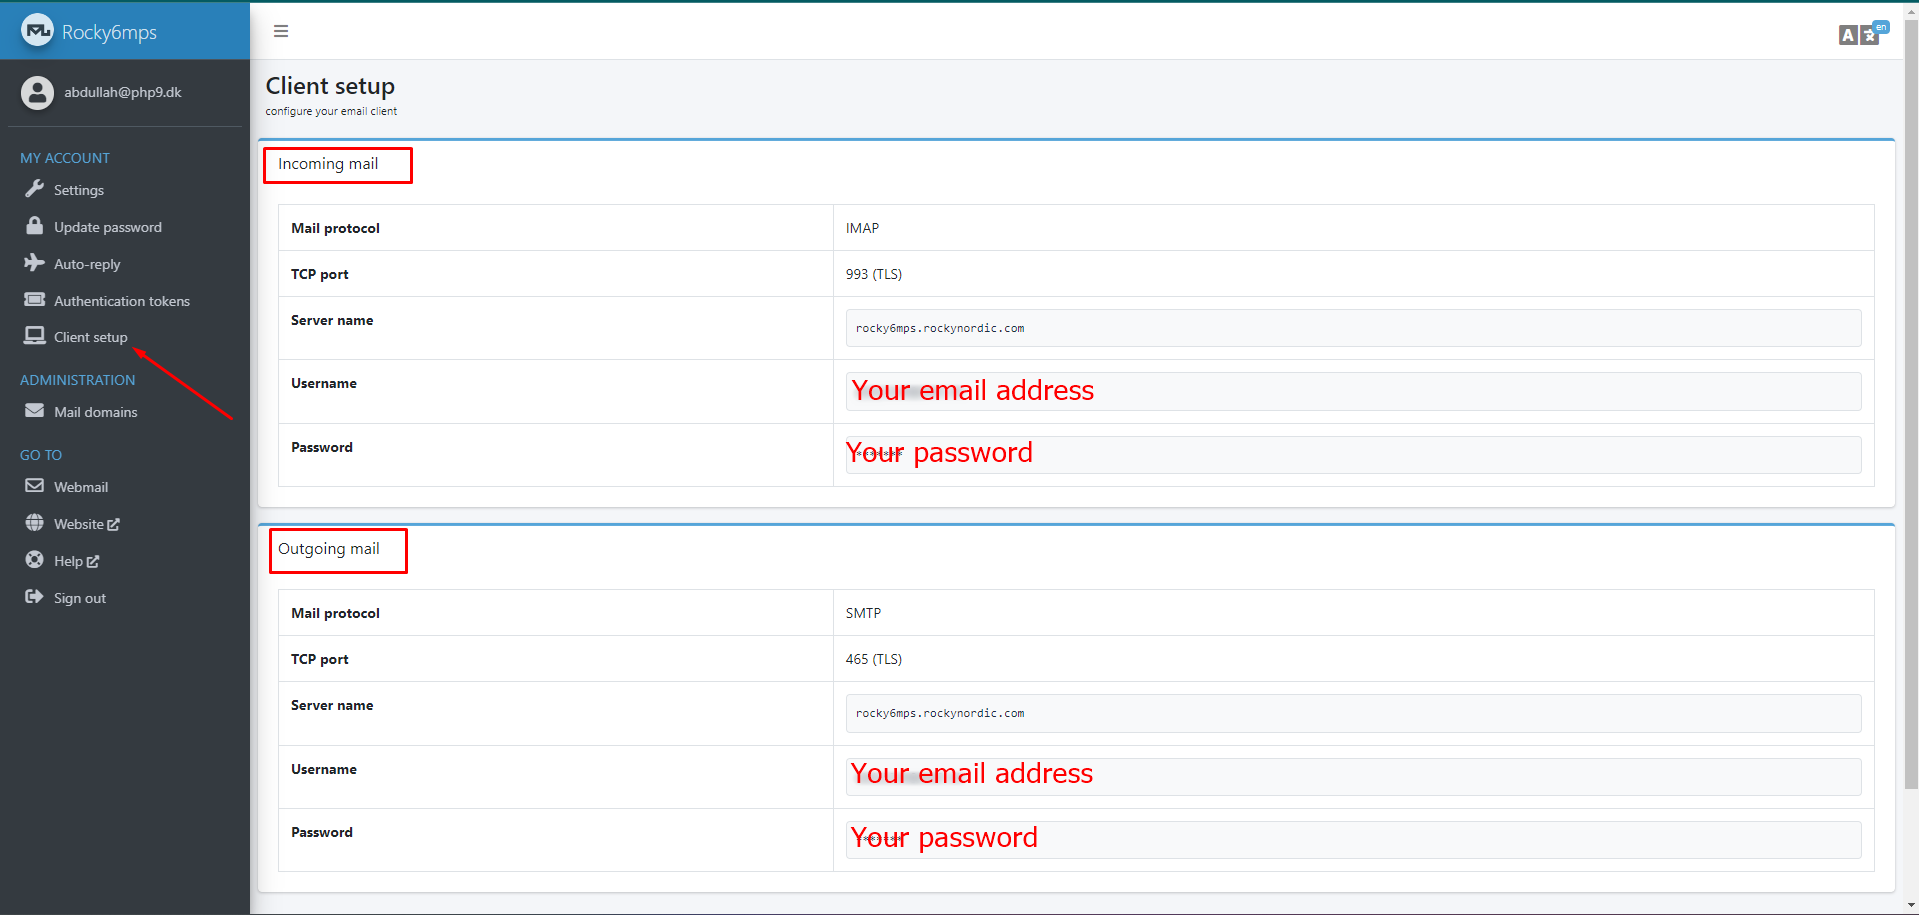
- Find your SMTP, IMAP/POP (Incoming & Outgoing) server names under the Client Setup tab.
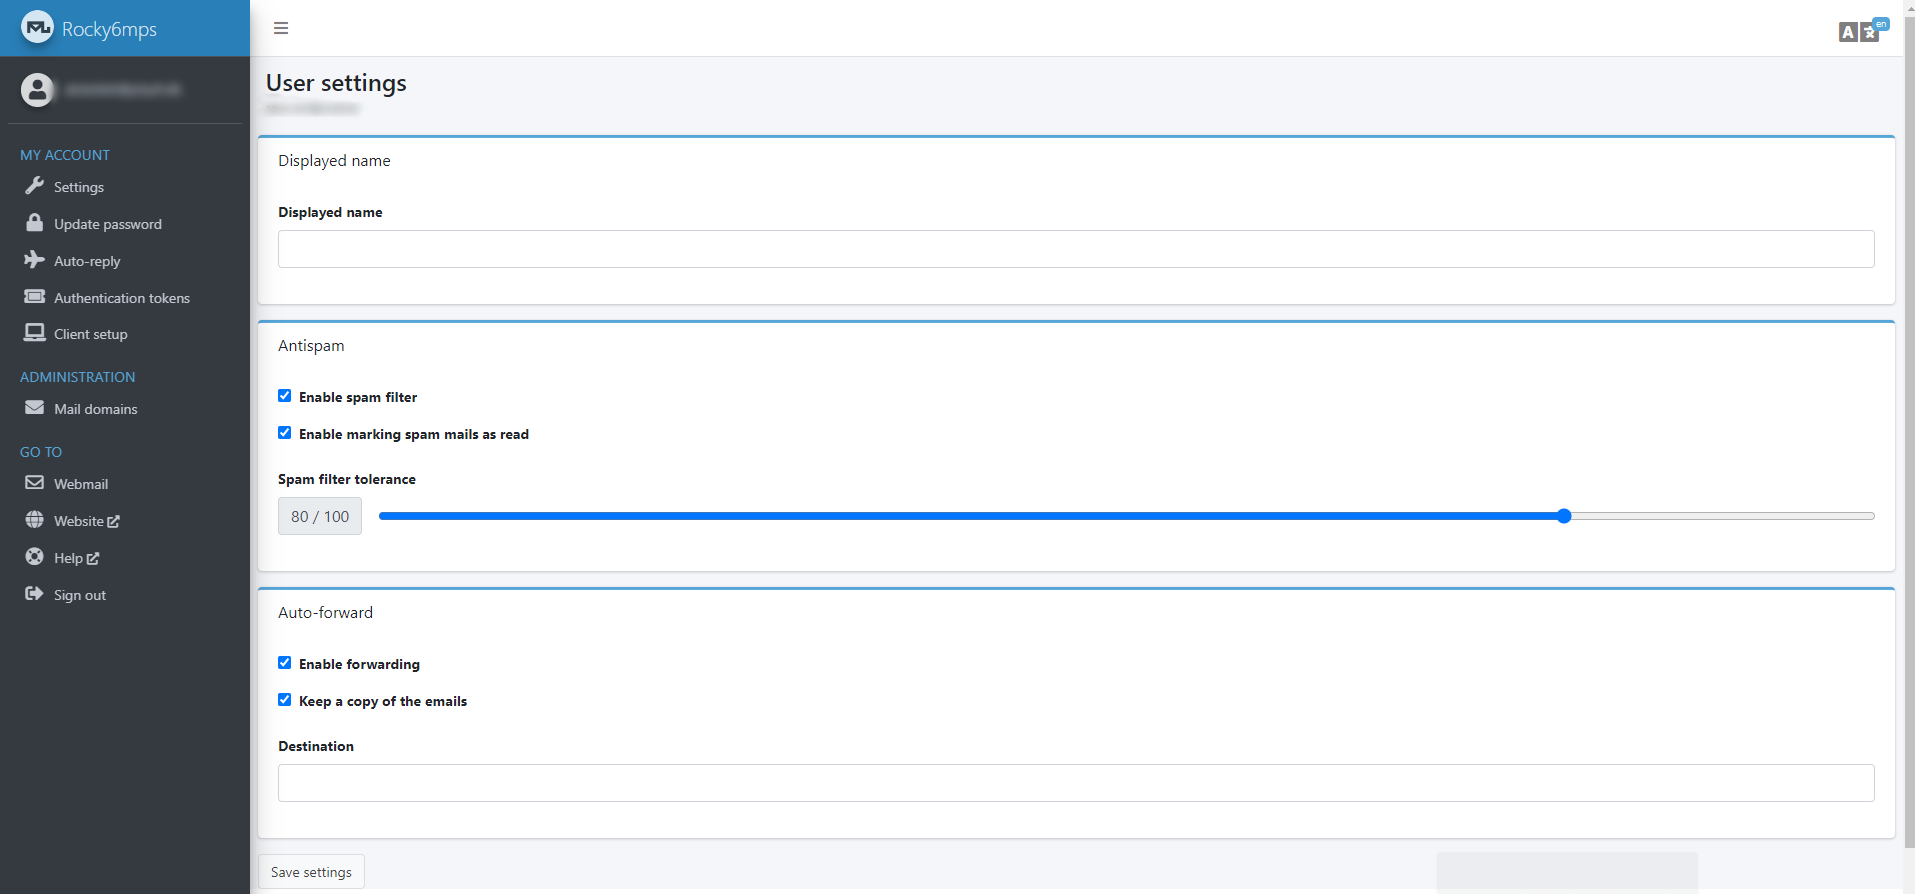
For incoming and outgoing mail server name, the information is available under your Client Setup tab on the MailU Admin dashboard login page. The mail server name will differ from user to user. So it is important to know the correct mail server name for your mail domain.
For Example: rocky6mps.rockynordic.com , azero4mps.azero.cloud.
MailU Admin Login -> Rocky6mps | Azero4mps
Here’s an image how the MailU Admin dashboard looks under client setup. This is for rocky6mps.rockynordic.com mail server. You will see a similar dashboard page when you login to the MailU Admin page.
